Tips for photo shooting

You need to provide your own product images for use with Fotographer.ai. We've compiled some tips to help you take more attractive product photos.
Good Photo Examples
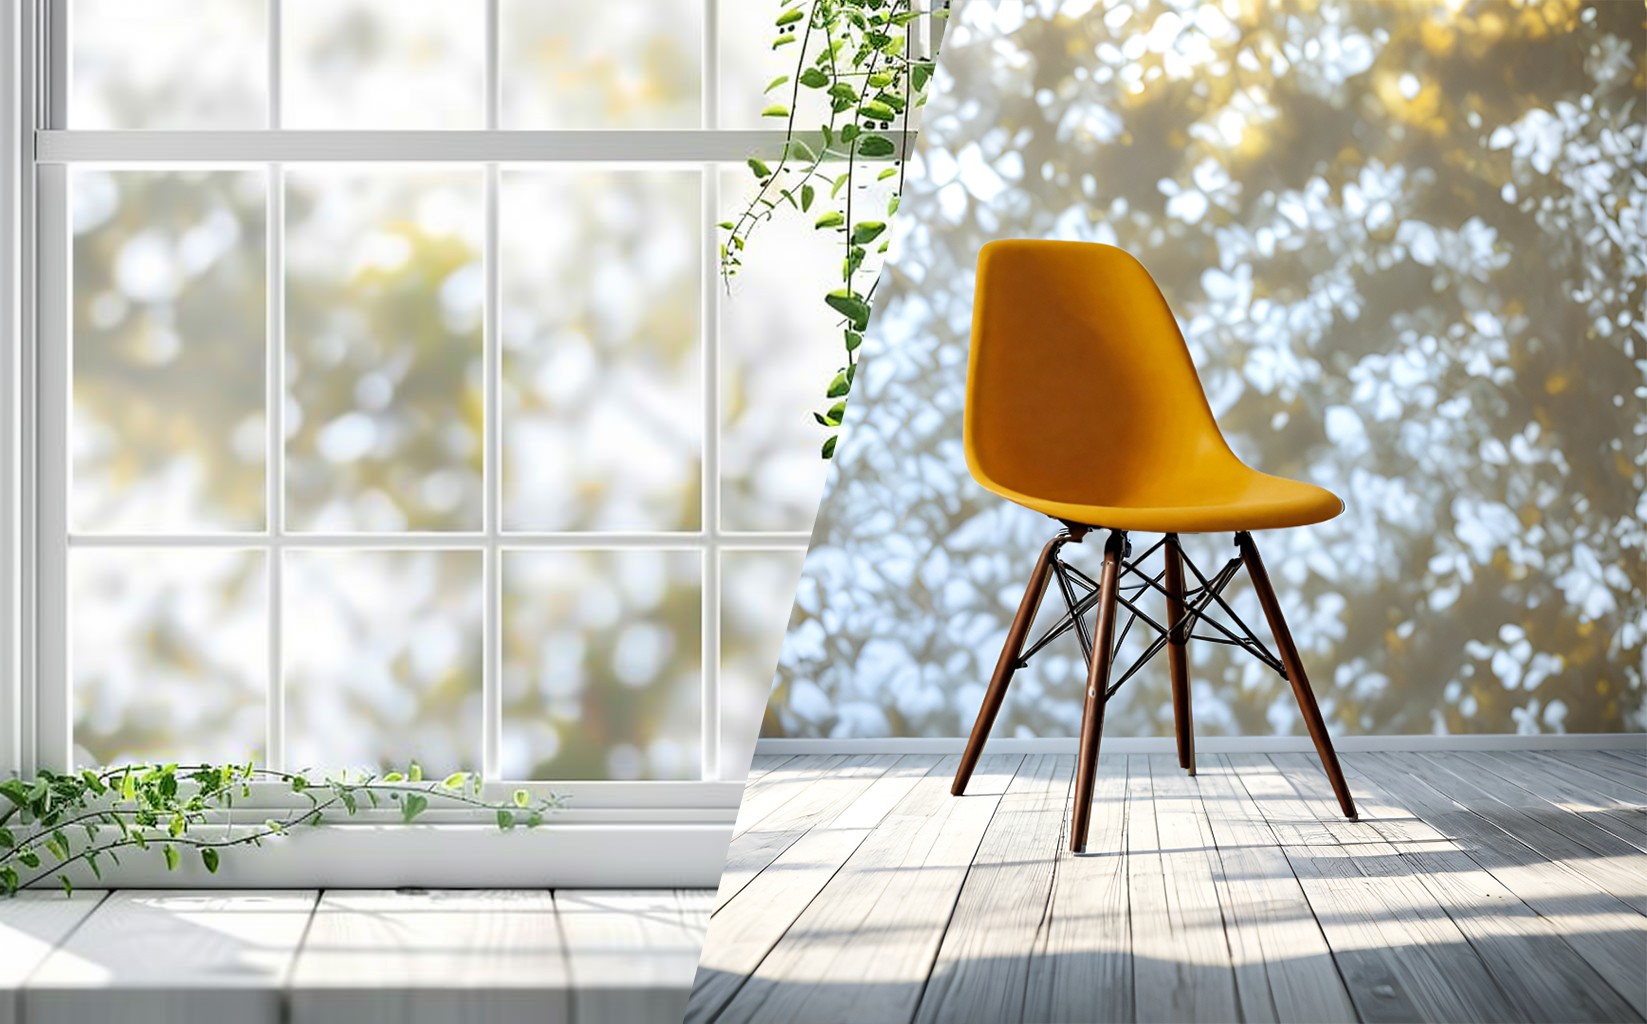
The area of the product you want to show is well lit.
The entire product is visible in the image.


Poor Photo Examples
The product area is blurred or fuzzy.
The image quality is low.The photo is too dark to see where the product is.
Other objects cover the product, making its shape indiscernible.
Part of the product is cut off.


How to Take Good Photos
For items that can fit on a table:
Equipment to use
Smartphone or DSLR camera.
(If available) A lightbox or tripod with light.
(If available) White paper or cloth.
Using natural light on a sunny day is best, but if it’s hard to find a good shooting location or if light from windows is insufficient, use a lightbox or ring light to ensure uniform lighting.
Ideally, the main part of the product (like the surface with the product name on packaging, or the label part of a wine bottle) should be brightly illuminated.
When buying a new lightbox, choose one that’s big enough to work inside without hitting the box's walls, and ideally, you should be able to adjust the brightness of the light, its position, and the background.
Placing a white cloth or paper in front of and behind the product can help reflect light around it, allowing for a cleaner shot.
If using a smartphone, it’s good to adjust exposure (brightness) in the camera app.
If using a camera, choose a low ISO setting and properly adjust exposure and white balance.If you want to shoot multiple products from the same angle, using a tripod can provide stability and prevent shaking.After shooting, image adjustment can be done using the image app on smartphones, 'Photos' on Windows, or 'Preview' on Mac.
If you have specialized tools like Photoshop, you can use them as well. Try adjusting brightness and contrast.
For Larger Items
Equipment to use
Smartphone or DSLR camera.
(If available) Tripod.
Using natural light on a sunny day is best, but if that's difficult, make sure to shoot in a place where you can fit the entire product into the photo without anything in the way, and far enough to have a clear shot.
Also, if the product is too close to the edge of the photo, it may appear distorted depending on your smartphone or camera lens.
Try to shoot with the product in the middle and ensure there’s ample space in the frame.
Using a tripod when shooting multiple products from the same angle can also help stabilize the shot and prevent blurring.
After shooting, image adjustment can be done using the image app on smartphones, 'Photos' on Windows, or 'Preview' on Mac. If you have specialized tools like Photoshop, you can use them as well.
Try adjusting brightness and contrast.
For iPhone shooting and post-adjustment methods, see here.


